Pages

Showing posts with label My Christmas Tutorials. Show all posts

Sunday, December 21, 2008

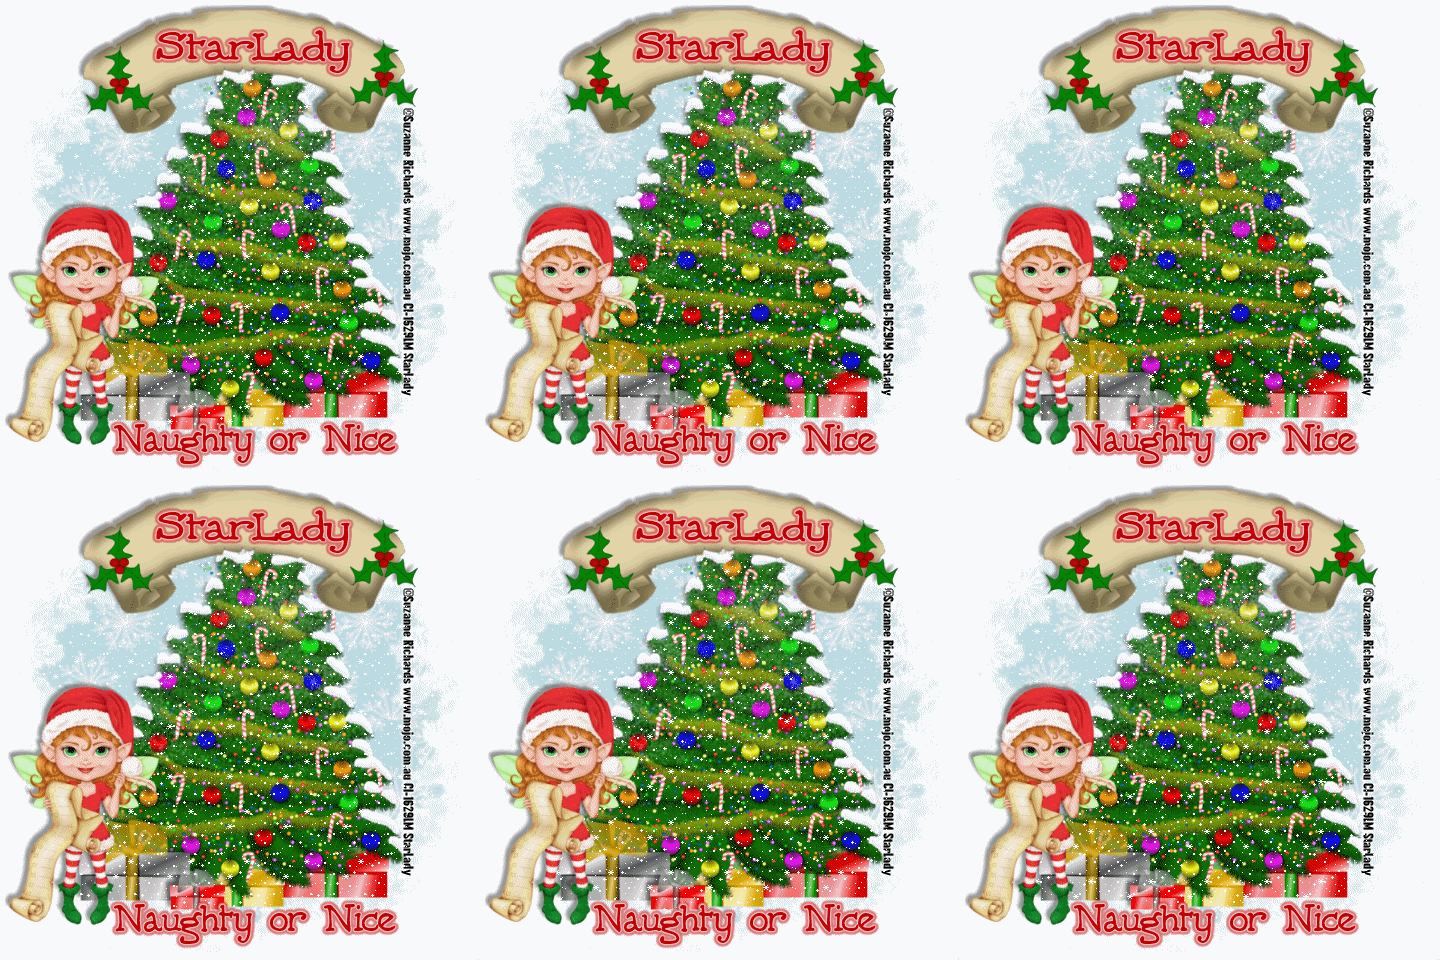
SR - "Which List Are You On"


Click on tag to see full size
This tutorial is written for those with working knowledge of PSP.

I used PSP 9 for this tutorial, but it could be done with other versions I'm sure.
~Supplies you will need~

Supplies HERE

1 Tubes of choice – I used the awesome work of Suzanne Richards. Please do not use her work without a license from C.I.L.M .

Free “Christmas Around the World Kit” by Voodoo- Thanks darlin’!! (in zip)

Eye Candy 4000 > Gradient Glow (optional –used on my name)

Alien Skin Eye Candy Nature > Snow Drift

“Falling Snow” (in zip)

The Font I used is called "5th Grader Bold"

The Drop Shadow I used is V,H (-5),Opacity 40, Blur 5, Color -Black

~Okay Let’s get started~

Don’t forget to rename layers as you go

You might want to Adjust > Sharpen after you resize anything you need to.

Open a 600 x 600 transparent image (we will resize later)

Open the “tree deco’, copy and paste it on your tag, Resize it by 60%, add a drop shadow

Open your tube, copy and paste it on your tag, Resize it by 60%, add a drop shadow

On the “Christmas Tree” layer add Effects > Alien Skin Eye Candy Nature > Snow Drift > Large First Flakes

Add a New Raster Layer just above the “White Background”

Grab “paper 12” from the kit > Material Palette > Foreground > paper 12 > Angle 0, Scale 50 > Flood Fill the new layer

Open a Mask in PSP – Layers > New Mask Layer > From Image > Okay

Layer Palette > Delete Mask Layer > Merge Group

From the kit grab some presents > Copy and paste > resize each by at least 30% position along the bottom in front of the Christmas Tree –add a drop shadow to each as you go

Open “banner blank”, copy and paste it on your tag, Resize it by 80% DO NOT add a drop shadow yet.

Open the “Holly” –Copy and Paste > Resize by 80% -position on the right size of the banner > Image > Mirror – you may still need to position it on the left side of the banner

Layer Palette > Make sure both “Holly” layers are directly above the “Banner”

Activate the top “Holly” layer > Right click > Merge Down, again Right click > Merge Down (you should now have the banner and two pieces of holly on one layer- I renamed it “Banner” –Now add a drop shadow

Image > Resize ALL layers by 80%

Add all Copyright Credits

~Now for the Snow~

Open Animation Shop

Layer Palette > X out the tube and banner layer – Edit > Copy Merged

Paste as New Animation in AS

Open the “Falling Snow” in AS- Minimize it for now

Select your Tag –Edit > Duplicate Selected until you have 10 frames

Get your “Falling Snow”- Edit > Select All > Edit > Copy

Minimize the snow again

Make sure “Propagate Paste” is toggled on in the Tool Bar

Your Tag- Edit > Select All, Edit > Paste > Into Selected Frame

View > Animation (the snow should be falling lol)

Go back to PSP – Un-X your Tube –Edit > Copy

Paste as New Animation in AS > Edit > Copy

Your tag- Edit > Paste > Into Selected Frame

Go back to PSP – Un-X your Banner –Edit > Copy

Paste as New Animation in AS > Edit > Copy

Your tag- Edit > Paste > Into Selected Frame

View > Animation (make sure nothing is “jumping”)

SAVE AS a GIF (blank)

Add any other Text you would like

I used Eye Candy 4000 > Gradient Glow 2 times (Change Glow Width to 3) with White then Red

Save AS Again

DONE I hope you enjoyed this tut.
If you have any problems please feel free to e-mail me at: starladystudio@bellsouth.net

I would LOVE to see what you have created!
HUGS StarLady

Thursday, November 13, 2008

Al Rio Gift Wrapped


Click on tag to see full size
This tutorial is written for those with working knowledge of PSP.

I used PSP 9 for this tutorial, but it could be done with other versions I'm sure.
~Supplies you will need~

Supplies HERE

4 Tubes of choice – I used the awesome work of Al Rio. Please do not use his work without a license from C.I.L.M .

Free “Christmas Around the World Kit” by Voodoo- Thanks darlin’!!

2 Free kits “SE Weekend Freebie 110607” & “SE Love” by Melissa -Thanks darlin’!!

Plug-in – Alien Skin Xenofex 2 > Rip Open

Eye Candy 4000 > Gradient Glow (optional –used on my name)

Font of choice - I used "Frosty"

~Okay Let’s get started~

Don’t forget to rename layers as you go
You might want to Adjust > Sharpen after you resize anything you need to.
Open a paper –I used “paper 12” (we will resize later)
Material Palette > Background-set the same paper as a Pattern, Foreground-choose a color that matches the paper and/or tubes you will use
On the top left of the tag draw out a nice size square, Layers > Duplicate 2 times, position both one under the other on the left
Grab the Rectangle Selection tool, select inside the diamond line style of the top square
Copy and paste a tube as a New Layer, position over the square as you choose, Selections > Invert > Hit Delete on your keyboard
Move the tube layer under the top square layer, Activate top square layer, Effects >Alien Xenofex 2 >Rip Open
Repeat the above for the other 2 squares.
X-out the Background Layer, Merge > Merge Visible (merging all the squares & tubes together), Add a drop shadow – V,H, (-5), Opacity 40, Blur 5, Color –Black, Un-X the Background layer
Grab the Rectangle Pre-set Shape Tool, Draw out a big rectangle, Convert it to a Raster
Copy, paste & position a tube over the rectangle, Layers Duplicate the tube 1 time
X-out the “copy” of the tube
Grab the Rectangle selection tool again, select inside the diamond line style of the rectangle, Select the original tube layer, Selections > Invert > Hit Delete on your keyboard
Move the tube layer under the Rectangle layer
Un-X the “copy” of tube layer, using the Freehand Selection Tool select all the parts of the tube that you do not want to stick out. Hit Delete on your keyboard
Open the “Weekend Freebie Kit, “ Grab the SE_IBelieve Beaded Ribbon, Image > Rotate > Free Rotate > 45 Left, Position as you choose on the tag, Adjust > Sharpness > Sharpen
While still on the Beaded Ribbon layer -Grab the Rectangle Selection Tool > select inside the diamond line style of the rectangle > Selections > Invert > Hit Delete on your keyboard
To get rid of any extra ribbon “sticking out” over the ripped parts of the rectangle use the Freehand Selection tool > Hit delete on you keyboard
From the “SE Love” kit –Grab the “SE_Love_Bow” & position where you choose on the “Beaded Ribbon”
X-out the Background layer & Squares layer, Merge > Merge Visible (everything to do with the rectangle), Add the same drop shadow as before
You should now only have 3 layers from top to bottom- “Rectangle” layer, “Squares” layer & the “Background” layer
Image > Resize ALL 80%
Add all copyright credits
Image > Add Border -color>Red >border size 2-Symmetric Checked (will also merge all layers on the layer palette)
Save the Blank as a JPEG
Go back –add any text, Save As again

DONE I hope you enjoyed this tut.
If you have any problems please feel free to e-mail me at: starladystudio@bellsouth.net
HUGS StarLady

Photobucket