Pages

Showing posts with label My Everyday Tag Tutorials. Show all posts

Wednesday, April 22, 2009

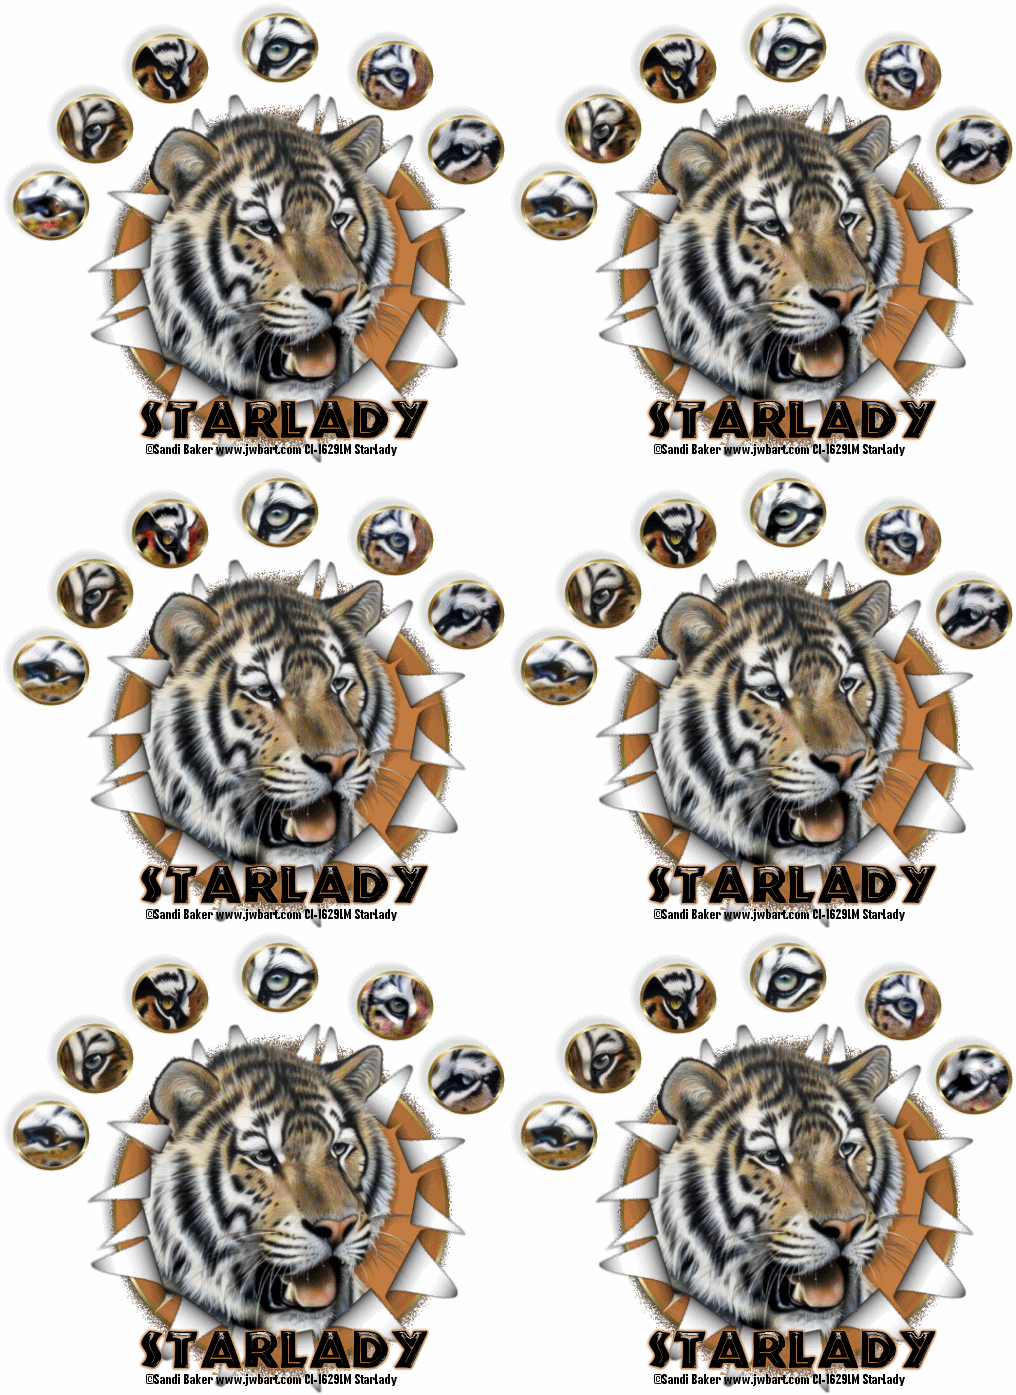
Circle of Tigers


Click on tag to see full size
This tutorial is written for those with working knowledge of PSP.
I used PSP 9 for this tutorial, but it could be done with other versions I'm sure.
~Supplies you will need~

~1-7 Tubes of choice – I used the awesome work of Sandi Baker. Please do not use her artwork without a license from C.I.L.M .

~Plugin: Toadies > Blast ‘n Blur
~Plugin: Eye Candy 4000 > HSB Noise
~Plugin: Eye Candy 4000 > Gradient Glow (optional –used on my name)
~The Drop Shadow I used is V,H (-5),Opacity 40, Blur 5, Color –Black
~Font I used is called ‘African’

~Okay, Let's get stated~


Don’t forget to rename layers as you go
You might want to Adjust > Sharpen after you resize anything you need to.

1) Basics

Open a 600 x 600 transparent image (resize later) and flood fill White
Grab the Ellipse Tool –Line Width: 4
Material Palette – Foreground: gradient of choice (I used “Metal Brass”) Background: Null
Draw out a big circle, then go to Objects > Align > Center in Canvas, Convert to a Raster
Use the same settings to draw out a small circle (leave the small circle for now)

2) Let’s work on the ‘Big Circle”


Grab a tube to use in the big circle, Windows > Duplicate and close the original
Make a Raster Layer
With the Magic Wand click inside the circle
Go to Selections > Modify > Expand by 2
Flood fill with a light color from your tube, move the ‘Big Colored Circle’ below the ‘Big Circle’
Put the Drop Shadow on the ‘Big Circle
With the Magic Wand click inside the ‘big circle’ again
Go to Selections > Modify > Expand by 2
Copy, paste and position your tube where you like,
Duplicate the tube, X out the original tube (leave for now)
On the ‘Copy of Big Tube’ layer–
Selections > Invert and hit ‘Delete’ on your keyboard, Selections > Select None
Move the ‘Copy of Big Tube’ below the ‘Big Circle’
Duplicate the “Big Colored Circle’ and move the copy below it
On the ‘Copy of Big Colored Circle’ use the plugin called: Toadies >Blast ‘n’ Blur
Duplicate the ‘Blast ‘n’ Blurred Circle –Merge > Merge Down
Duplicate the ‘Big Colored Circle’ again
Move it below the ‘Big Circle’ –Merge > Merge Down
Use the plugin: Alien Skin Xenoflex 2 > Rip Open
Layer Palette –from Top to Bottom you should have:
~Small Circle
~Big Tube
~Big (Ripped Open) Circle
~Copy of Big Tube
~Big Colored Circle
~Blasted Color Circle
~Background
Grab your Eraser and erase all parts you do not want sticking out of the ‘Big (Ripped Open) Circle’

3)Now let’s work on the small circle(s)

Position the small circle where you want
Duplicate the ‘Small Circle’ 5 times (total 6)
For the sake of less confusion rename each circle- (start with original) ‘S Circle 1’… 2, 3, 4, 5, 6
~~With the Magic Wand click inside ‘S Circle 1’
Go to Selections > Modify > Expand by 2
Grab a new tube~ Windows > Duplicate –close out the original
**(I used just eyes, so I skipped making a New Raster Layer…but you may need to)
New Raster Layer, Flood fill with a color from the new tube you will use
Position the tube where you want –
Selections > Invert and hit ‘Delete’ on your keyboard, Selections > Select None
Move below all small circle layers
~~~Repeat the above for all 6 of the ‘S Circle(s)’
Add the Drop shadow to all the ‘S Circles
Here where you should add any embellishments to the tag if you wish (go wild lol)
X out white Background
Grab the Crop Tool > hit ‘ Merge Opaque’ at the end of all the crop settings
Double click inside the square and everything is cropped perfectly
Un-X Background
Resized Entire tag if need be then add all Copyright Credits

4) Animation

Launch Animation Shop “AS”
Go back to PSP click on the first tube in ‘S Circle 1’
Go to –Effects > Eye Candy 4000 > HSB Noise > click OK
Edit > Copy Merged – Go to AS, Paste As New Animation
Go back to PSP –Edit > Undo HSB Noise
Go to –Effects > Eye Candy 4000 > HSB Noise > hit Random Seed > Click OK
Edit > Copy Merged – Go to AS, Paste > After Current Frame
Go back to PSP –Edit > Undo HSB Noise
Go to –Effects > Eye Candy 4000 > HSB Noise > hit Random Seed > Click OK
Edit > Copy Merged – Go to AS, Paste > After Current Frame
Edit > Undo HSB Noise
Go to the next tube layer
Repeat the above until you have done a total of 3 layers of HSB Noise on all of the tube layers
You should have a total of 18 Frames for your tag in AS when you finished.
In AS – Edit > Select All, Animation > Frame Properties 25, View > Animation
If all is going well you may want to save this as a blank
Then go back to PSP –type out the text you want on the tag.
Edit > Copy
In AS- Paste as New Animation
Edit > Select All, hit Propagate Paste , Paste > Into Selected Frames, View > Animation

If all is well. Save again. DONE. I hope you enjoyed this tut!

Wednesday, February 25, 2009

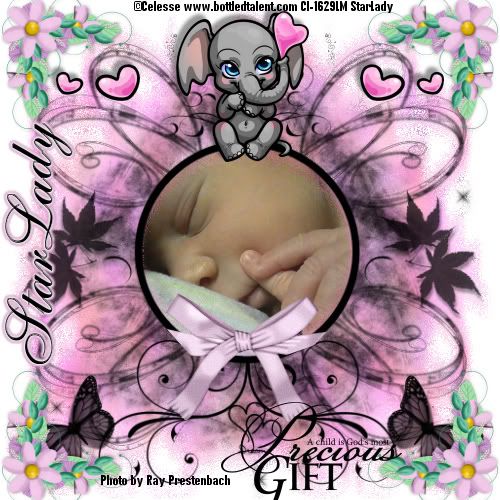
Precious Dreams with Celesse


1


Click on tag to see full size
This tutorial is written for those
with working knowledge of PSP.

I used PSP 9 for this tutorial, but it could be done with other versions I'm sure.
~Supplies you will need~

Supplies HERE

1 Tubes of choice – I used the awesome work of Celesse. Please do not use her work without a license from C.I.L.M .

Free “Waiting for Spring” scrap kit from Beacon Scrap HERE Thanks darlin’!

Word Art and the Cajun Designz template in zip

If anyone knows where Cajun Designz’s website is please let me know.

Eye Candy 4000 > Gradient Glow x 2 (optional –used on my name)

The Drop Shadow I used is V,H (-5),Opacity 40, Blur 5, Color –Black

Font I used is called Allegro

~Okay Let’s get started~

Don’t forget to rename layers as you go

You might want to Adjust > Sharpen after you resize anything you need to.

Grab the “Dreams Temp” template (we will use this instead of a blank canvas) –Resize by 50%.

Add a “New Raster” layer, flood fill white –Rename “white BG,” and move below the template layer

Grab a photo of choice. I used a picture of my daughter.

Copy and Paste it as a new layer, move the photo between the template and the white background and resize it to fit a section of the photo in the “circle” part of the template.

X out the photo.

With the Magic Wand select inside the circle. Selections > Modify > Expand by 2

Un-X the photo. Selections > Invert and hit Delete on your keyboard

Duplicate the template layer

With a color, gradient or pattern of choice flood fill the original template layer and lower the Opacity

Effects > Eye Candy 4000 > HSB Noise, Effects > Toadies > Blast n’ Blur

For some reason I had to use the “Deform” to close the “circle” part of the “copy of the template” back around the picture

On the Photo layer- Adjust > Hue and Saturation > Colorize (I used H 255 S 38)

Grab a tube –copy, paste as a new layer, position where you like and add a drop shadow

Grab your choice of Word Art- Copy, paste as a new layer and position as you like

Grab the “Floral Corner 01” in the “Waiting For Spring” scrap kit

Copy, paste as a new layer, resize by 50% about 3 times and place in the top left corner-add a drop shadow

Layers > Duplicate

Image > Mirror

Layers > Duplicate

Image > Flip

Layers > Duplicate

Image > Mirror -You should now have 4 floral corners

Now grab the “Buckled Ribbon” from the scrap kit

Copy, paste as a new layer, resize by 50% about 3 times –I did NOT put a drop shadow

Use the Freehand Selection Tool-point to point to select the parts of the ribbon you want to cut off to make it look as if the ribbon wraps around the circle, hit Delete on your keyboard (I had to redo this a few times to get it how I wanted it)

Add all Copyright Credits

File > Save As (Blank without a name ect)

Go back and add the text you want

File > Save As again

DONE I hope you enjoyed this tut.
If you have any problems please feel free to e-mail me at: starladystudio@bellsouth.net

I would LOVE to see what you have created!
HUGS StarLady


Monday, November 10, 2008

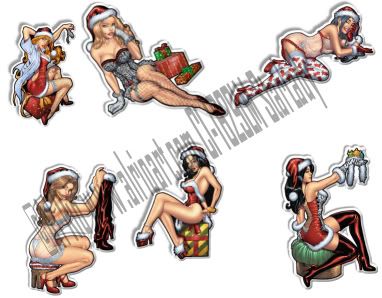
How to make Stickers for tags


Click on image to see full size
This tutorial is written for those with working knowledge of PSP.

I used PSP 9 for this tutorial, but it could be done with other versions I'm sure.
~Supplies you will need~

Tubes of choice – I used the awesome work of Al Rio. Please do not use his work without a license from C.I.L.M .

~Okay Let’s get started~
You might want to Adjust > Sharpen after you resize anything you need to.
Open a 600 x 600 transparent image to store them on
Flood Fill with white –set aside
To make a “sticker look” to each tube you use.
Pick 1 tube – Window > Duplicate –close the original tube.
Image > Canvas Size > change to 700 X 700 (just so you know you have enough room to work with lol)
Selections > Select All > Float > Defloat
Selections > Modify > Expand by 2
Add a New Raster layer and pull below tube layer, Flood Fill- Black INSIDE the ants (DO NOT Deselect)
Selections > Modify > Expand by 8
Add a New Raster layer and pull below the black layer you just made, Flood Fill- White INSIDE the ants
Selections > Select None
Merge > Merge Visible
Copy and paste onto white canvas
Effects > 3-D Effects > Inner Bevel –settings:
Bevel: shape 2, Width 20, Image Smooth 22, Depth 5, Ambience (-5), Shininess 36, Angle 319, Intensity 36, Elevation 45, Color-White,
Add a drop shadow-settings: V, H (-5), Opacity 40, Blur 5, Color-Black
Repeat until your heart’s content.

Save as a PSP Image so everything is saved as layers

DONE I hope you enjoyed this tut
If you have any problems please feel free to e-mail me at: starladystudio@bellsouth.net
HUGS StarLady

Wednesday, November 5, 2008

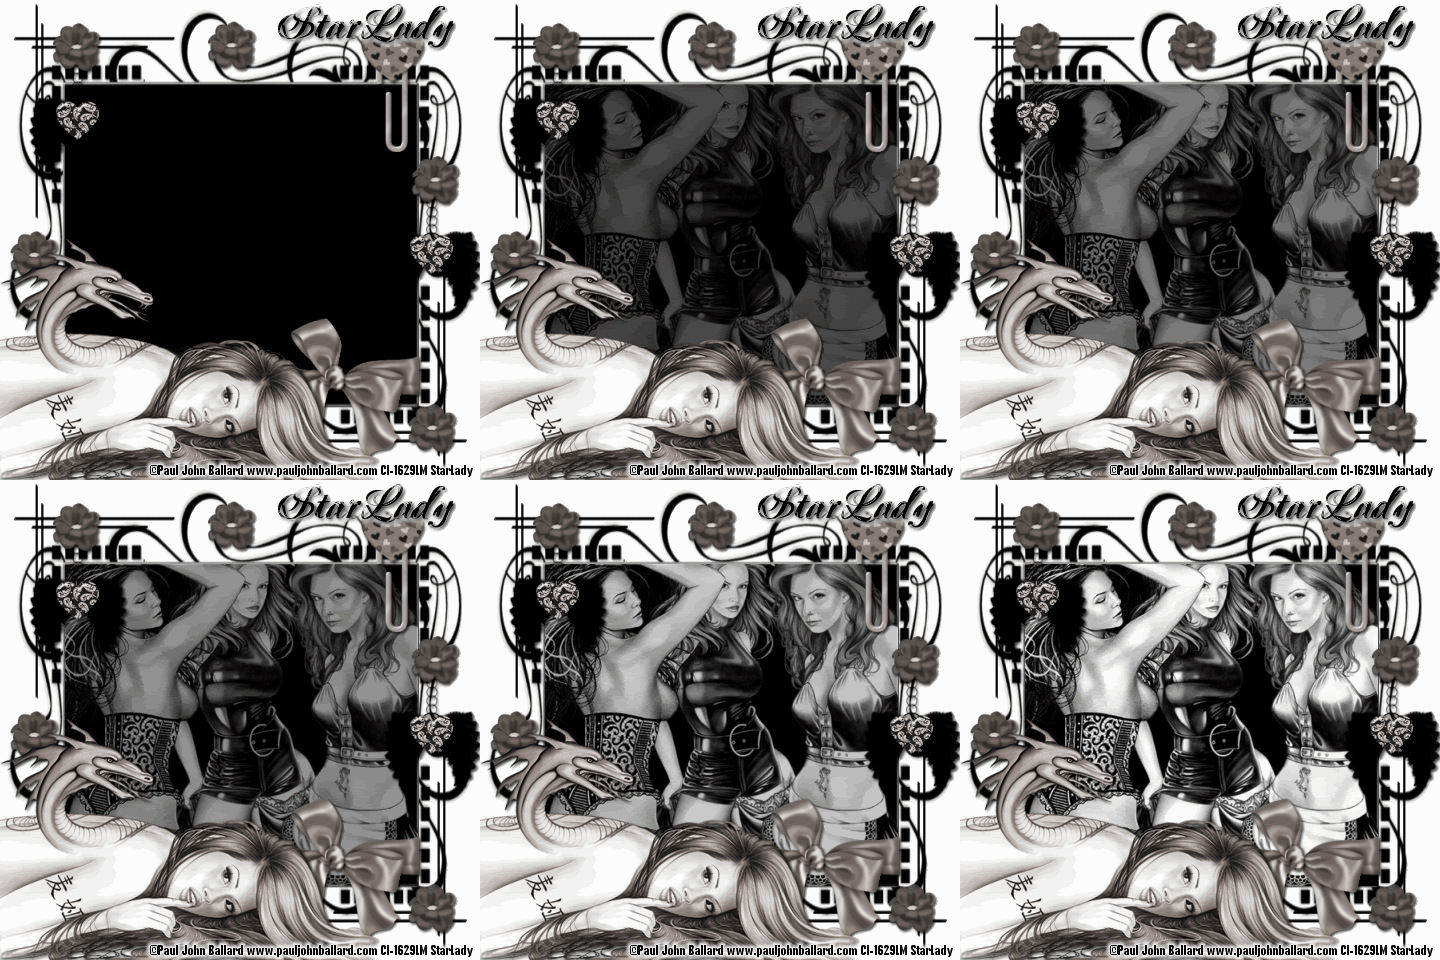
PJ Ballard Crush


Click on tag to see full size
This tutorial is written for those with working knowledge of PSP.

I used PSP 9 for this tutorial, but it could be done with other versions I'm sure.

~Supplies you will need~
4 tubes of choice – I used the awesome work of Paul John Ballard. Please do not use his work without a license from C.I.L.M .

Mask 63 by Zuzzanna –You can get the Mask HERE about half way down the page. Thank you Zuzzanna!

Scrap Kit –Girly Crush “Freebie Add On” HERE at Candy’s Treat blog. Thank you!

Font of choice

~Okay Let’s get started~

Don’t forget to rename layers as you go
You might want to Adjust > Sharpen after you resize anything you need to.
Open and minimize mask in PSP
Open a 600 x 600 transparent image (we will resize later)
Flood Fill with white
New Raster Layer > Flood Fill with Black
Layers > New Mask Layer > From Image (Source Luminance & Invert Mask Data checked)
Layer Palette > Delete Mask Layer > Merge > Merge Group
Grab 3 tubes you would like to use > Copy and Paste As New Layers
Position & resize as you like over the “Big Square” of the mask
Merge > Down all of the tubes > X-Out “3 Tubes” layer for now
Use your Rectangle Selection tool to select the “Big Square”
Activate & un-X “3 Tubes layer” > Selections > Invert > Hit Delete on your keyboard
Selections > Select None
While still on the “3 Tubes” Layers -Adjust > Hue & Saturation > Colorize > Hue doesn’t matter, Saturation 0.
Copy & Paste “Wrapped Bow 2” from the scrap kit > Resize by 60 > Add a drop shadow
Position so that it looks like it “wraps” around the mask
Copy & Paste “Paper Clip 5” from the scrap kit > Resize by 60
Position as on my tag, use the Eraser to erase part of the paper clip to make it look “clipped” onto the mask- add a drop shadow
Copy & Paste “featherwingsCharm3” from the scrap kit > Resize by 60 –add a drop shadow
Duplicate and position as on my tag.
Copy & Paste “flower 14” as new layer > Add a drop shadow > Duplicate as many times as you like and position around the tag
Copy and Paste the 4th tube (main tube) as a new layer –at the top of the layer palette, resize if needed and position on your tag
X- out the white background, Mask, 3 background tubes, and the main tube
Merge > Merge Visible all of the “Elements” left on the tag
While still on the “Elements” Layer -Adjust > Hue & Saturation > Colorize > Hue doesn’t matter, Saturation 19.
Un-X all layers and repeat Colorize on the Main tube
From top to bottom in the layer palette you should have –Main Tube, Elements, 3 Tubes, Mask and White Background
Image > Resize –ALL by 80%

~Have Animation Shop open~
Activate the “3 Tubes” layer > Opacity to 0, Edit > Copy Merged in PSP, Right Click on workspace in AS > Paste as New Animation
Back to PSP - 3 Tubes Layer > Opacity to 20, Edit > Copy Merged in PSP, Right Click the on tag in AS > Paste > After Current Frame
Back to PSP - 3 Tubes Layer > Opacity to 30, Edit > Copy Merged in PSP, Right Click the on tag in AS > Paste > After Current Frame
Repeat – Increasing the Opacity by 10 each until you have pasted the last layer (opacity at 100) (total 10 frames)
In AS - Edit > Select All, Animation > Frame Properties change to 25, View Animation –the 3 tubes should fade in nicely.
Back to PSP- write out copyright credits, Edit > Copy, In AS Right Click on the workspace-Paste As New Animation, Edit > Copy-credits, Make sure to hit the Propagate Paste button in the tool bar, Right Click on your tag –Paste > Paste Into Selected Frame
Save the Blank as a GIF
Back to PSP- write out your name, Edit > Copy, In AS Right Click on the workspace- Paste As New Animation, Edit > Copy-name, Right Click on your tag –Paste > Paste Into Selected Frame
Save as a GIF.

DONE I hope you enjoyed this tut
If you have any problems please feel free to e-mail me at: starladystudio@bellsouth.net
HUGS StarLady

Friday, October 31, 2008

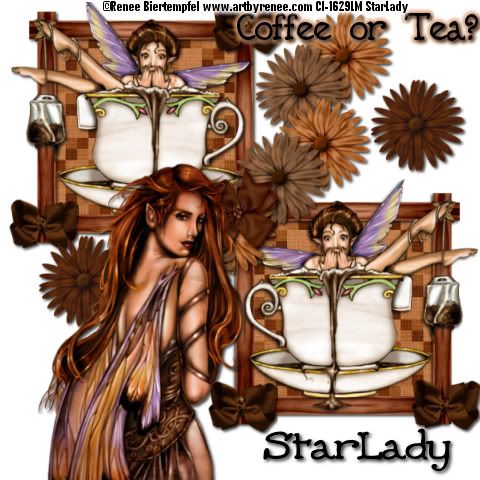
RB Coffee or Tea?


~~Happy Halloween Everyone~~

Click on tag to see full size
This tutorial is written for those with working knowledge of PSP.
I used PSP 9 for this tutorial, but it could be done with other versions I'm sure.
I used the wonderful artwork of Renee Bietempfel. Please do not use her artwork without a license from C.I.L.M.

~Supplies you will need~

I am using a free kit called SM Coffee you can get it HERE at Sirena Mala Designs thanks darlin’ it is awesome!

2 tubes and font of choice

~Okay let’s get started~

Don’t forget to rename the layers as you go.
Open a 600 x 600 transparent image and flood fill white (we will resize later)
Open the “SM Coffee Frame 5,” copy and paste as a new layer.
Image > Resize the frame by 60 (resize all unchecked)
Position frame in the top left of the tag
Click inside the frame with the Magic Wand, Selections > Modify> Expand by 2
Choose a paper (I used paper 1)
New Raster, Copy and Paste Into Selection, move below frame layer
Selections > Select None
Add a Drop Shadow > 2, 2, 80, 5 -Black
Copy and paste tube as a New Layer, Resize by 60
Drop Shadow the tube
X out the white background and Merge> Merge Visible everything else, Rename “Frame”
Un-X the white background
Duplicate the “Frame” layer, Image > Mirror and position as on my tag
X out the white background and Merge > Merge Visible the 2 “Frame” layers, Rename the layer “Frames”
Copy and paste to different color flowers as New Layers, Resize at 20, Drop Shadow both and position as on my tag in the corner of the “Frames” layer
X out the white Background layer and the Frames layer
Merge > Merge Visible the 2 Flowers
Un-X the white background and Frames
Duplicate Flowers layer 3 times (total 4 layers) and position as on my tag
Merge > Merge Down until all the Flowers are Merged together
Copy and Paste another color flower, Resize by 20 and add a drop shadow
Duplicate the Flower and position both as on my tag
X out the background and Frames layer Merge> Merge Visible, Rename “Flowers”
Un-X the white background and Frames
Copy and Paste a bow New Layer, Resize by 20, and add a drop shadow
Position the bow in the middle of the flower in the center of the tag
Copy and Paste another color bow as a New Layer, Resize by 20, and add a drop shadow
Duplicate the bow 3 times (total 4 bows) position them in the corners of the Frames
Copy and Paste another tube, resize if needed and add a drop shadow
I added “Coffee or Tea,” added a drop shadow >Effects > Gradient Glow > Change the Glow Width to 5 and the color
Add all copyright credits > Save As > JPEG
Add a name > Save As > JPEG

DONE I hope you enjoyed this tut
If you have any problems please feel free to e-mail me at: starladystudio@bellsouth.net

HUGS StarLady

Tuesday, October 28, 2008

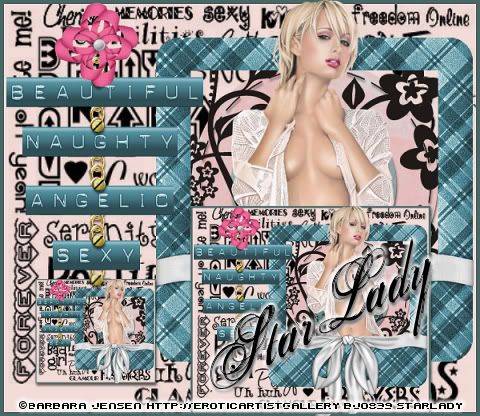
BJ-B.N.A.S.


Click on tag to see full size
This tutorial is written for those with working knowledge of PSP.
I used PSP 9 for this tutorial, but it could be done with other versions I'm sure.
I used the wonderful artwork of Barbara Jensen. Please do not use her artwork without a license from HER SITE .

Optional- Eye Candy 4000 Gradient Glow
Font of choice

~Supplies you will need~ Zip HERE
In zip file:
Clarey’s Dymolabels
Clarey’s Funky Scrapkit
Clarey’s Rubylicious Scrapkit
Please visit Clarey HERE. Thank you Clarey!!
Chain and flatpin (can’t seen to find the screw I used)
Mask
If any of the supplies are yours please let me know so I can give you proper credit.

~Okay Let’s get started~
Don’t forget to rename layers as you go
Open and minimize mask in PSP
Open a 600 x 600 transparent image (we will resize later)
Flood Fill with a color that compliments your tube
New Raster layer, Flood Fill with black
Apply Mask -Layers > New Mask Layer > From Image
Layer Palette > Delete Mask layer > Merge > Merge Group
Open a Frame in Rubylicious Scrapkit. I used Frame 3.
I used the freehand tool> point to point to select the frame (except the bow)
Adjust> Hue & Saturation> Colorize
Copy and Paste Tube as new layer (resize if needed)
To make the tube stick out: Use the freehand> point to point to select all of the tube that would cover up the bow on the frame. Hit Delete on your keyboard
Merge the frame and Tube
Copy and paste 4 of Clarey’s labels (resize if needed)
Adjust > Adjust> Hue & Saturation> Colorize (use the same color you did before)
X out all the labels for now
Copy and paste chain, Image > Rotate > Free Rotate 90
Adjust> Hue & Saturation> Colorize (gold color)
Un-X labels position on the chain as on my tag
Copy and Paste Bow from Funky Scrapkit, position as on my tag
Copy and paste flatpin – Adjust> Hue & Saturation> Colorize (gold color)
Layers > Duplicate for a total of 4 flatpins, position as on my tag
X out the last duplicated flatpin
New Raster – move just above the Mask Layer
To make the frame around the whole tag: Selections > Select All > Selections > Modify >Contract by 2 > Selections > Invert
Flood Fill with a color in-between the ants
Window > Duplicate
Image > Resize > resize about 60 – Resize All Layers checked
Copy, paste and position in front of the large tube and frame on the original tag
Go back to the duplicated tag Edit > Undo Resize
Image > Resize about 40 –Resize All Layers checked
Copy and paste resized tag onto original tag, position on the bottom of the chain
Un-X the 4th flatpin and position as on my tag
Image > Resize > Resize all about 80% to be in accordance with Barbara Jensen’s TOU > Image > Image Information-to see the size of the tag.
Add Copyright Credits, Save As a blank JPEG
Go back add your name > Eye Candy 4000 Gradient Glow –change “Glow Width” to 5, Color -White
and Save As again.

DONE I hope you enjoyed this tut
If you have any problems please feel free to e-mail me at: starladystudio@bellsouth.net
HUGS StarLady

Photobucket