
~~Happy Halloween Everyone~~
Click on tag to see full size
This tutorial is written for those with working knowledge of PSP.
I used PSP 9 for this tutorial, but it could be done with other versions I'm sure.
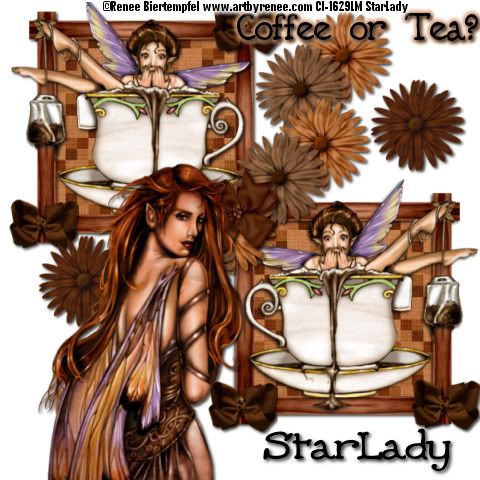
I used the wonderful artwork of Renee Bietempfel. Please do not use her artwork without a license from C.I.L.M.
~Supplies you will need~
I am using a free kit called SM Coffee you can get it HERE at Sirena Mala Designs thanks darlin’ it is awesome!
Don’t forget to rename the layers as you go.
Open a 600 x 600 transparent image and flood fill white (we will resize later)
Open the “SM Coffee Frame 5,” copy and paste as a new layer.
Image > Resize the frame by 60 (resize all unchecked)
Position frame in the top left of the tag
Click inside the frame with the Magic Wand, Selections > Modify> Expand by 2
Choose a paper (I used paper 1)
New Raster, Copy and Paste Into Selection, move below frame layer
Selections > Select None
Add a Drop Shadow > 2, 2, 80, 5 -Black
Copy and paste tube as a New Layer, Resize by 60
Drop Shadow the tube
X out the white background and Merge> Merge Visible everything else, Rename “Frame”
Un-X the white background
Duplicate the “Frame” layer, Image > Mirror and position as on my tag
X out the white background and Merge > Merge Visible the 2 “Frame” layers, Rename the layer “Frames”
Copy and paste to different color flowers as New Layers, Resize at 20, Drop Shadow both and position as on my tag in the corner of the “Frames” layer
X out the white Background layer and the Frames layer
Merge > Merge Visible the 2 Flowers
Un-X the white background and Frames
Duplicate Flowers layer 3 times (total 4 layers) and position as on my tag
Merge > Merge Down until all the Flowers are Merged together
Copy and Paste another color flower, Resize by 20 and add a drop shadow
Duplicate the Flower and position both as on my tag
X out the background and Frames layer Merge> Merge Visible, Rename “Flowers”
Un-X the white background and Frames
Copy and Paste a bow New Layer, Resize by 20, and add a drop shadow
Position the bow in the middle of the flower in the center of the tag
Copy and Paste another color bow as a New Layer, Resize by 20, and add a drop shadow
Duplicate the bow 3 times (total 4 bows) position them in the corners of the Frames
Copy and Paste another tube, resize if needed and add a drop shadow
I added “Coffee or Tea,” added a drop shadow >Effects > Gradient Glow > Change the Glow Width to 5 and the color
Add all copyright credits > Save As > JPEG
Add a name > Save As > JPEG
DONE I hope you enjoyed this tut
If you have any problems please feel free to e-mail me at: starladystudio@bellsouth.net
HUGS StarLady


No comments:
Post a Comment